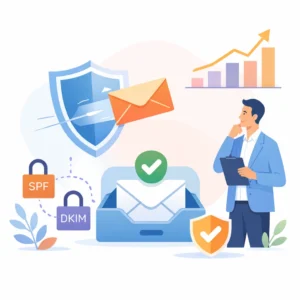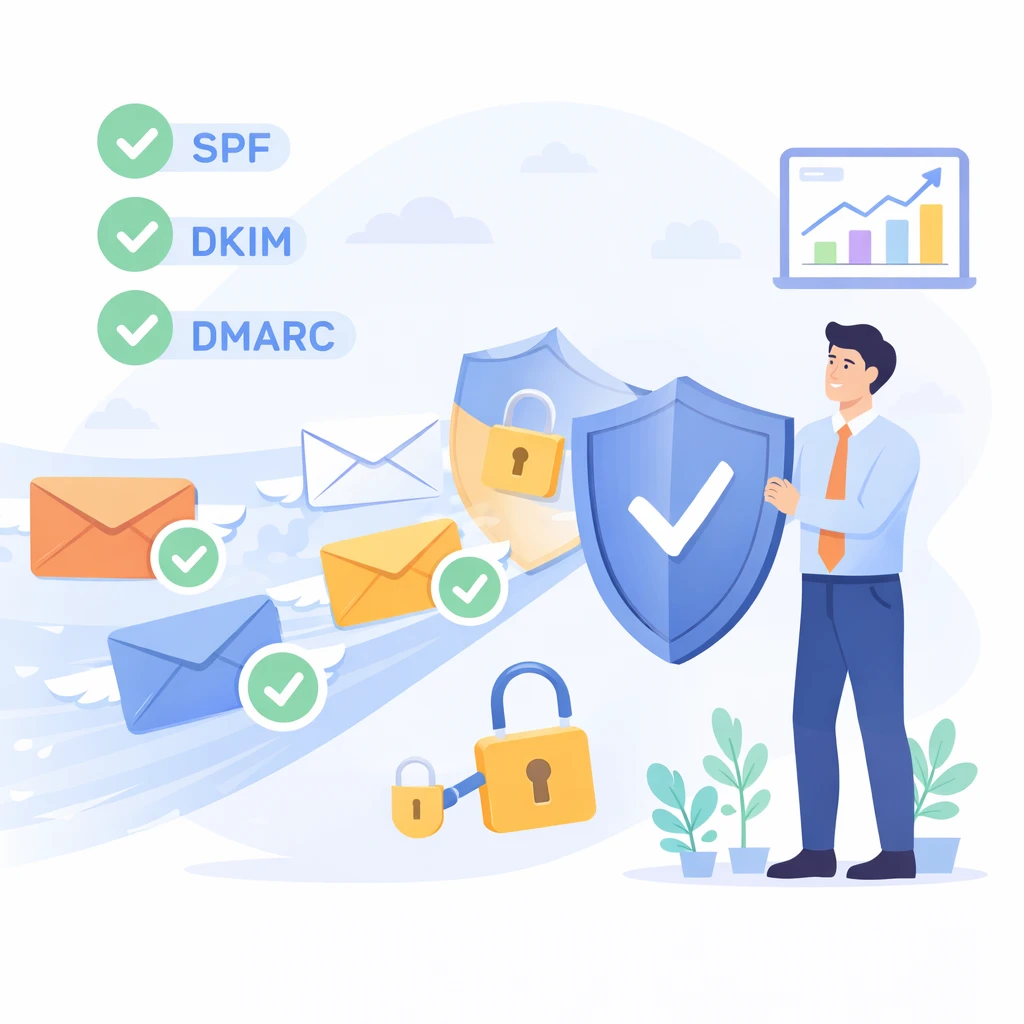
In a nutshell: SPF, DKIM and DMARC are the three protocols that prove to receiving servers that your e-mails are legitimate. Since 2024, Google, Yahoo and Microsoft have required them. Without them, your email campaigns may simply not arrive. This guide takes you step-by-step through their configuration.
Email authentication no longer optional
For a long time, setting up SPF, DKIM and DMARC was good practice. A “plus” that the most rigorous companies implemented, with no particular urgency. This is no longer the case.
Since February 2024, Google and Yahoo have required any sender sending more than 5,000 emails per day to have all three protocols configured. Microsoft followed suit in May 2025 with similar requirements. To put it plainly: if your domain is not properly authenticated, your messages will no longer reach your inbox. They’re filtered, spammed or rejected altogether.
The context explains this acceleration. According to the Cybermalveillance.gouv.fr 2024 report, 60% of cyberattacks in France begin with a fraudulent email. Phishing remains the number one threat, and the figures continue to climb: according to Factoria Groupe, 43% of French SMEs were victims of phishing in 2025, compared with 24% a year earlier. Almost double.
Faced with this reality, email providers have beefed up their rules. According to PowerDMARC, Gmail has reduced the volume of unauthenticated messages by 65% since these requirements came into force. The signal is clear: authentication is no longer a technical issue to be put off until later. It’s the basic requirement if your email campaigns are to reach their intended recipients.
SPF: declare who has the right to send your emails
SPF, for Sender Policy Framework, is the first of the three protocols to be configured. The principle is simple: you publish in your domain’s DNS the list of servers authorized to send e-mails on your behalf.
When a receiving server receives an e-mail from your domain, it consults your SPF record to check that the sending server is on the list. If it is, the message passes the check. If not, it is flagged as suspicious.
In practice, the SPF record is a line of text added to your domain’s DNS zone, in the form of a TXT record:
v=spf1 include:spf.ediware.net include:_spf.google.com ip4:192.168.1.1 ~all
Each element has a specific role:
v=spf1indicates an SPF recordinclude:authorizes the servers of a third-party service, your emailing platform or your corporate messaging systemip4:authorizes a specific IP address~allindicates that any unlisted server should be treated with suspicion (soft fail)
Two points deserve particular attention. First, the limit of 10 DNS lookups. Each include generates a DNS query, and some include call others in cascade. A record that appears to contain four entries may in fact generate twelve lookups. Beyond ten, the entire SPF record is invalidated. Not partially. Totally.
Next, the difference between ~all (soft fail) and -all (hard fail). Soft fail is recommended during the deployment phase, as it lets messages through while flagging them. Hard fail is stricter, but risks blocking legitimate e-mails if the configuration is not perfectly complete.
According to Afnic, 74.4% of domains in the .fr zone will publish an SPF policy in 2025, compared with 57.8% in 2023. This is a clear improvement. But it also means that a quarter of French domains have still not made this basic configuration.
DKIM: proving that your messages have not been altered
While SPF checks who is sending the message, DKIM checks that the message itself has not been altered en route. DKIM, for DomainKeys Identified Mail, is based on a cryptographic signature principle.
Your sending server applies a digital signature to each outgoing e-mail. This signature is generated from a private key known only to your server. The corresponding public key is published in your DNS. When the recipient’s server receives the message, it retrieves the public key, verifies the signature, and ensures that nothing has changed between sending and receiving.
The DKIM record in your DNS takes this form:
selecteur._domainkey.votredomaine.com → TXT record containing the public key
The “selector” is an identifier that allows you to have several DKIM keys for the same domain. Each mailing service generally uses its own selector: your emailing platform has one, your Google Workspace mailbox has another.
On key size, Google recommends 2048 bits. 1024-bit keys still work, but are considered insufficient. If your DKIM configuration is a few years old, there’s a good chance that the keys are too short. Check and update if necessary.
An often overlooked point: DKIM key rotation. As with passwords, it’s good practice to renew your keys periodically. Every six months to a year is a reasonable frequency. Your e-mailing platform usually manages this rotation transparently, but it’s best to make sure.
DMARC: deciding what to do with non-compliant emails
DMARC, for Domain-based Message Authentication, Reporting and Conformance, is the third link in the chain. Its role is to tell receiving servers what to do when an e-mail fails SPF and DKIM checks.
Without DMARC, each e-mail provider applies its own rules in an opaque way. With DMARC, you set the policy. Three options:
- p=none: do nothing in particular, but receive reports. This is the observation mode.
- p=quarantine: send suspicious messages as spam.
- p=reject: simply reject non-compliant messages.
The DMARC record is published in your DNS, like SPF :
_dmarc.votredomaine.com → v=DMARC1; p=none; rua=mailto:dmarc-rapports@votredomaine.com
The rua parameter specifies the address to which aggregate reports are sent. These reports, sent in XML format by e-mail providers, show you who is sending e-mail from your domain, how many are passing authentication and how many are failing. A mine of information for spotting configuration problems or spoofing attempts.
An often misunderstood technical point: alignment. DMARC checks that the domain visible in the “From” field of the email corresponds to the domain authenticated by SPF or DKIM. If your e-mail displays “contact@votreentreprise.com” but SPF authenticates a different domain, DMARC considers the e-mail to be non-compliant, even if SPF technically passes.
There is also a second type of report, forensic reports (parameter ruf), which provide details of each individual failed email. These reports are more precise, but also more sensitive in terms of personal data, which is why not all suppliers send them.
Despite the protocol’s proven effectiveness, worldwide adoption remains low. According to the EasyDMARC 2025 report, only 5.2% of domains use the p=reject policy. The vast majority remain at p=none, which amounts to observing without really acting. In the French retail sector, dmarcian finds that only 32% of the top 100 domains have a DMARC policy at application level. The remaining 68% are exposed.
Setting up SPF, DKIM and DMARC step by step
Configuration follows a logical sequence. Skipping steps can lead to blockages that could have been avoided.
Step 1: take inventory of all your mailing flows. Before touching DNS, list all the services that send emails for your domain. Your emailing platform, your corporate messaging (Google Workspace, Microsoft 365), your CRM, your billing tool, your website with its contact forms and notifications. Each forgotten service is potentially blocked once authentication is active.
Step 2: Configure SPF. Create a TXT record in your DNS zone that authorizes all identified services. Make sure you don’t exceed 10 DNS lookups. If this is the case, regroup some entries or use a technique called “SPF flattening”, which replaces include with the corresponding IP addresses.
Step 3: Activate DKIM. For each sending service, generate a DKIM key pair from its administration interface. Publish the public key in your DNS. Activate the signature in the service parameters. Check that the key is 2048 bits.
Step 4: Publish DMARC in observation mode. Start with p=none. This is the recommendation of Google and the M3AAWG, the leading organization in the fight against email abuse. At this stage, no messages are blocked. You simply collect the data.
Step 5: Analyze the reports. Wait two to four weeks to accumulate enough data. DMARC reports in XML are illegible to the naked eye. Free tools like MXToolbox or dmarcian turn them into understandable tables. Identify failed services and correct their configuration.
Step 6: Gradually tighten the policy. Once all your legitimate feeds have passed, switch to p=quarantine. Keep an eye on things for a few more weeks. If everything is stable, switch to p=reject. This ramp-up is essential if you don’t want to cut your own shipments.
Google recommends waiting 48 hours between the implementation of SPF/DKIM and the publication of DMARC, to allow DNS records to propagate correctly.
Configuration errors that go unnoticed
Some errors are common and can go undetected for months. By the time a deliverability problem comes to light, entire campaigns will have been downgraded without anyone noticing.
Exceed 10 SPF lookups. The most common mistake. Each include triggers a DNS query, and some call others in cascade. A record that appears to contain four include may in fact generate twelve lookups. Beyond ten, the entire SPF record becomes invalid. Not partially, totally. Check with a tool like MXToolbox SPF Checker.
Forget a dispatch service. Your accounting sends invoices by email, your technical support sends notifications, your WordPress site sends form confirmations. If these services are not included in your SPF and do not sign in DKIM, their emails will systematically fail. Hence the importance of the initial inventory.
Use obsolete DKIM keys. 512- or 1024-bit keys are no longer considered secure. If your DKIM was set up several years ago, the keys are probably too short. The update takes a few minutes, but it changes everything.
Switch to p=reject too quickly. The temptation is strong to want to lock in quickly. But if a legitimate sending service isn’t properly authenticated, its emails will be rejected without notice. And you may not know it right away. The none → quarantine → reject progression should take place over several weeks, with reports to back it up.
Do not enable DMARC reports. Publishing a DMARC record without the rua parameter is like navigating without instruments. Without reports, it’s impossible to know what’s passing, what’s failing, or who’s trying to spoof your domain.
Ignore forwarding. When an email is forwarded by an intermediary, the SPF breaks. The forwarding server is not on your list of authorized senders. DKIM is more resistant to forwarding because the signature remains intact. This is another reason to configure both protocols and not rely solely on SPF.
Checking and monitoring your authentication
Setting up SPF, DKIM and DMARC is not enough. Initial verification and ongoing monitoring are part of the process.
Immediate verification tools. Several online services test your configuration in seconds. MXToolbox checks your SPF, DKIM and DMARC records and reports errors. Mail-Tester gives a deliverability score after sending a test email. Google Admin Toolbox allows you to check DNS records specifically. To find out more, read our complete guide to SPF, DKIM and DMARC email authentication.
Google Postmaster Tools. If you send significant volumes to Gmail addresses, this free tool is a must. It displays your spam rate, domain reputation, SPF/DKIM/DMARC authentication rate, and delivery errors. This is the dashboard that Google makes available to senders to monitor their sending health.
Reading DMARC reports. Aggregated reports are delivered in XML format to the configured e-mail inbox. They contain the volume of messages sent from your domain, the authentication results for each sending source, and the actions taken by the recipient servers. Tools such as dmarcian or MXToolbox DMARC Report Analyzer convert these files into comprehensible tables.
What to watch for regularly:
- The reported spam rate, which Google recommends keeping below 0.10% with a critical threshold of 0.3%.
- Sending sources not identified in your DMARC reports, which may signal a spoofing attempt
- The validity of your DNS records after any changes to your infrastructure
Email authentication isn’t a one-off project that you tick off and forget about. It’s an ongoing process. Every time you add a new delivery service, change your provider or modify your DNS, you need to check it.
Authentication for B2B deliverability
SPF, DKIM and DMARC aren’t just security protocols. They’re the foundations of your sender reputation. And in B2B emailing, reputation directly conditions the deliverability of your B2B emails.
Messaging providers evaluate each sending domain according to several criteria: complaint rate, hard and soft bounce rate, recipient engagement, and authentication. A correctly authenticated domain leaves with an advantage. A domain without authentication leaves with a handicap, regardless of the quality of its content.
For companies involved in email prospecting or nurturing campaigns, the stakes are high. An email that doesn’t reach the inbox will never be read, never be clicked on, and will never generate a lead. Authentication is the prerequisite for everything else: a carefully crafted subject line, relevant content and fine-tuned segmentation. All this is only of value if the message arrives.
And it’s not just about high volumes. Even a company that sends a few hundred e-mails a week benefits from proper authentication. Spam filters make no distinction: a domain without SPF or DKIM is a suspect domain, period. What’s more, if a third party usurps your domain to send spam, your reputation as a sender suffers directly, with consequences for the deliverability of your own campaigns.
The regulatory landscape continues to evolve towards greater rigor. After Google and Yahoo in 2024, Microsoft in 2025, PCI DSS v4.0 will make DMARC mandatory in 2026 for organizations handling credit card data. The trend is clear and will not be reversed.
If you haven’t already set up SPF, DKIM and DMARC on your domain, now’s the time. Set-up takes a few hours at most, and the benefits to your deliverability are immediate. And if your configuration is already in place, make sure it’s up to date: 2048-bit DKIM keys, DMARC policy progressing towards p=quarantine or p=reject, all your sending flows correctly declared.